Enabling SSL (Secure Sockets Layer) on your website ensures a secure connection between your site and its visitors. SSL helps protect sensitive data, boosts your search engine rankings, and improves user trust. Here's a step-by-step guide to enable SSL on your website using cPanel's AutoSSL feature and forcing SSL redirection.
Step 1: Log in to cPanel
Log in to your cPanel account using your provided username and password.
Step 2: Access the SSL/TLS Status
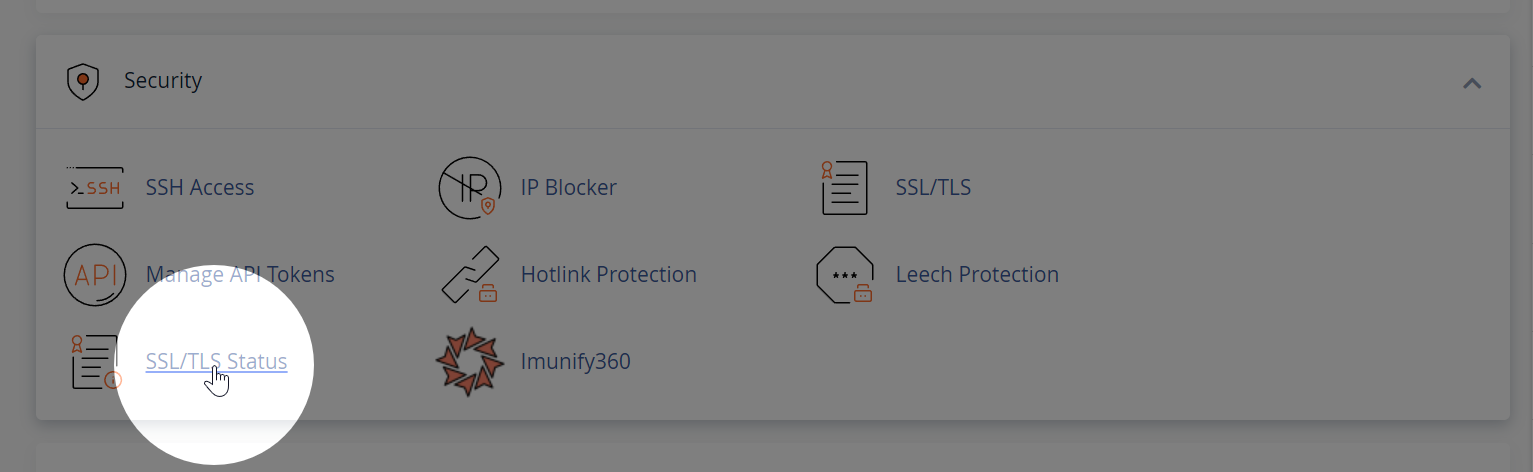
In cPanel, locate the "Security" section and click on the "SSL/TLS Status" icon. This will open the SSL/TLS Status page.
Step 3: Run AutoSSL
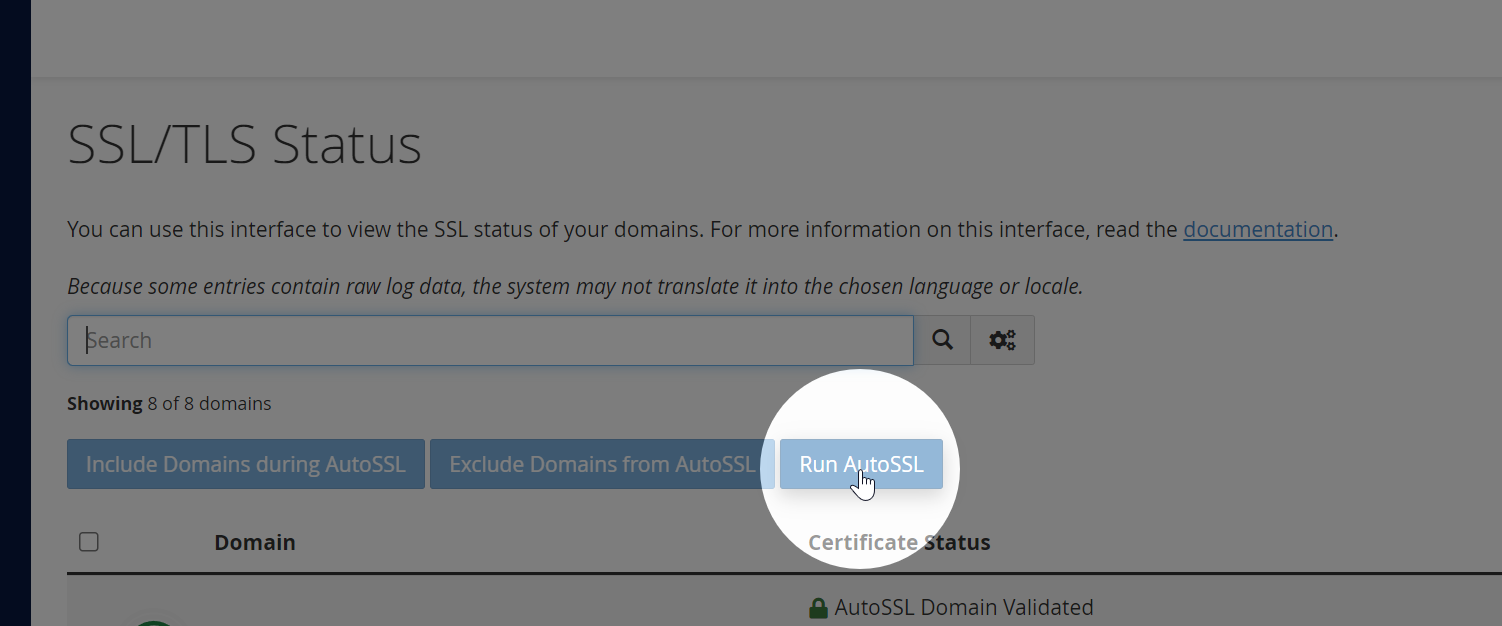
AutoSSL automatically installs and renews free SSL certificates from Let's Encrypt. On the SSL/TLS Status page, select the domains for which you'd like to enable SSL, and then click on the "Run AutoSSL" button. The process may take a few minutes to complete.
Step 4: Verify the SSL certificate installation
Once AutoSSL completes the process, you should see a green lock icon next to your domain name(s), indicating that the SSL certificate has been successfully installed.
Step 5 (optional): Enable Force SSL Redirect
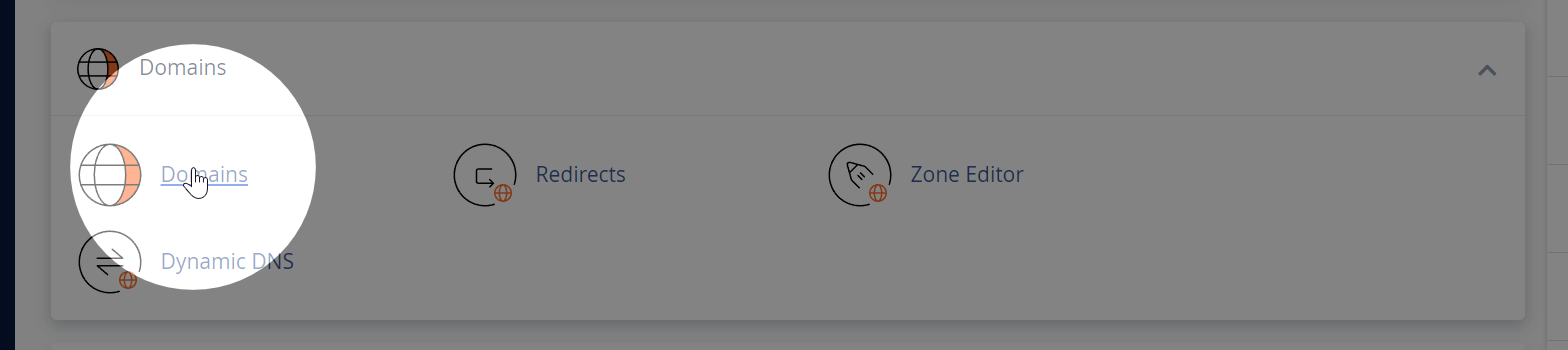
To force all traffic to use HTTPS, go back to the main cPanel dashboard, and locate the "Domains" section. Click on the "Domains" icon to open the Domains page.
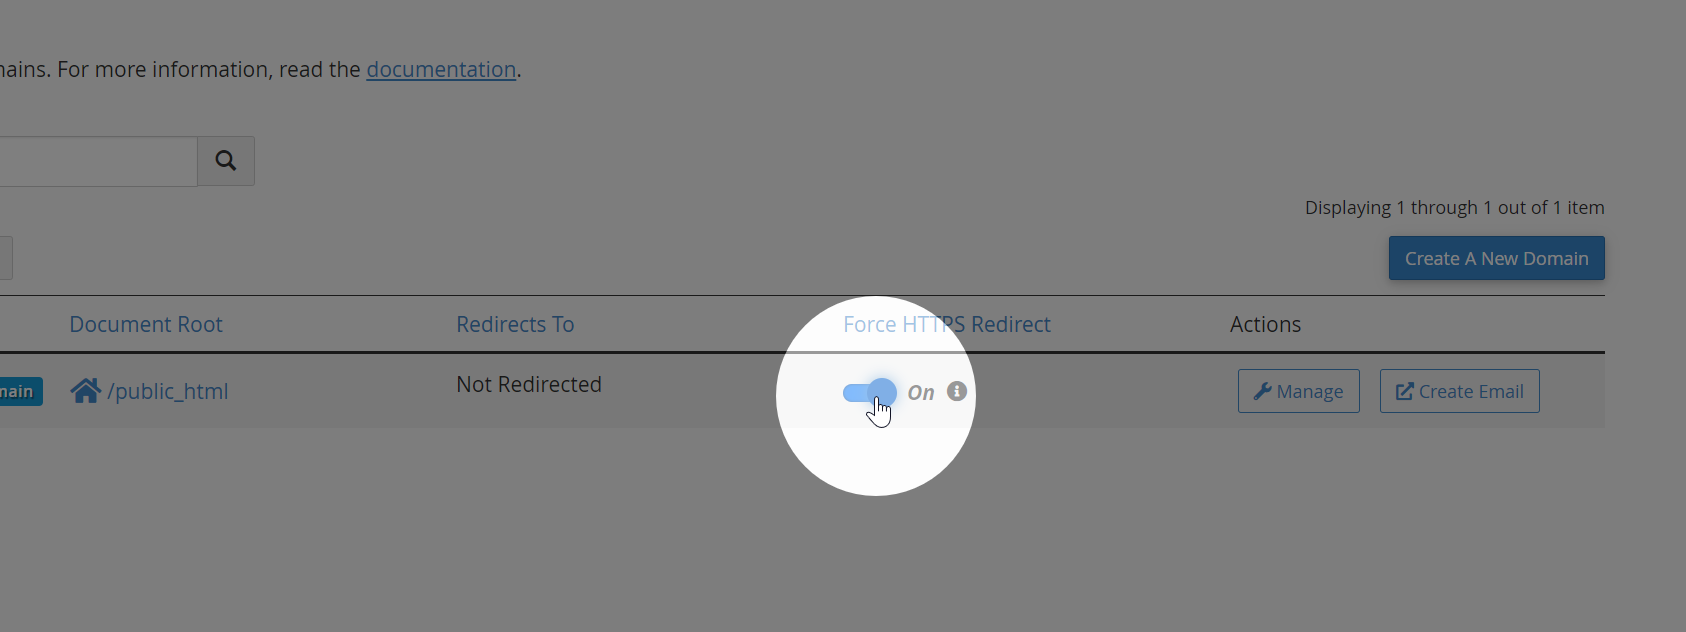
Find the domain for which you want to force SSL redirection and toggle the "Force HTTPS Redirect" switch to the "On" position. This ensures that all visitors to your website are automatically redirected to the secure HTTPS version of your site.
Step 6: Restart your browser
Restart your browser to flush the SSL session cache.