Softaculous is an auto-installer available in cPanel that allows you to install web applications like WordPress easily. In this guide, we'll walk you through the process of installing WordPress on your website using Softaculous.
Step 1: Log in to cPanel
Log in to your cPanel account using your provided username and password.
Learn how to log in to cPanel.
Step 2: Access Softaculous
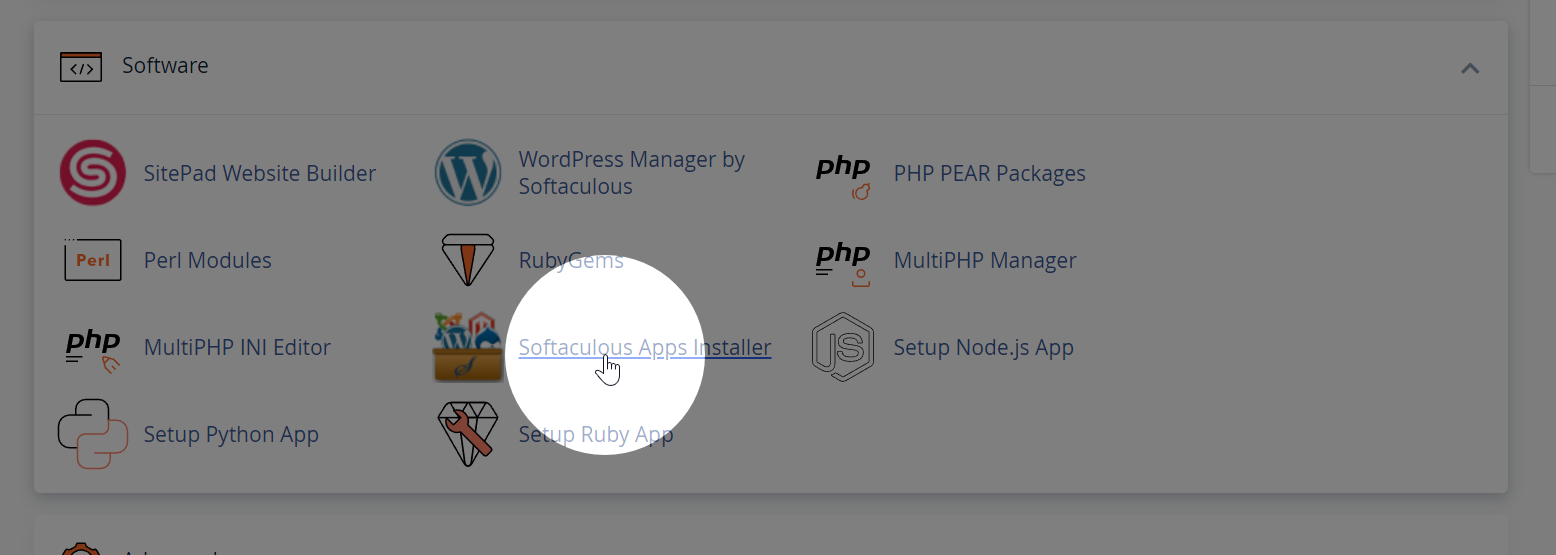
In cPanel, locate the "Software" or "Softaculous Apps Installer" section and click on the Softaculous icon, which usually has the WordPress logo. This will open the Softaculous dashboard.
Step 3: Choose WordPress
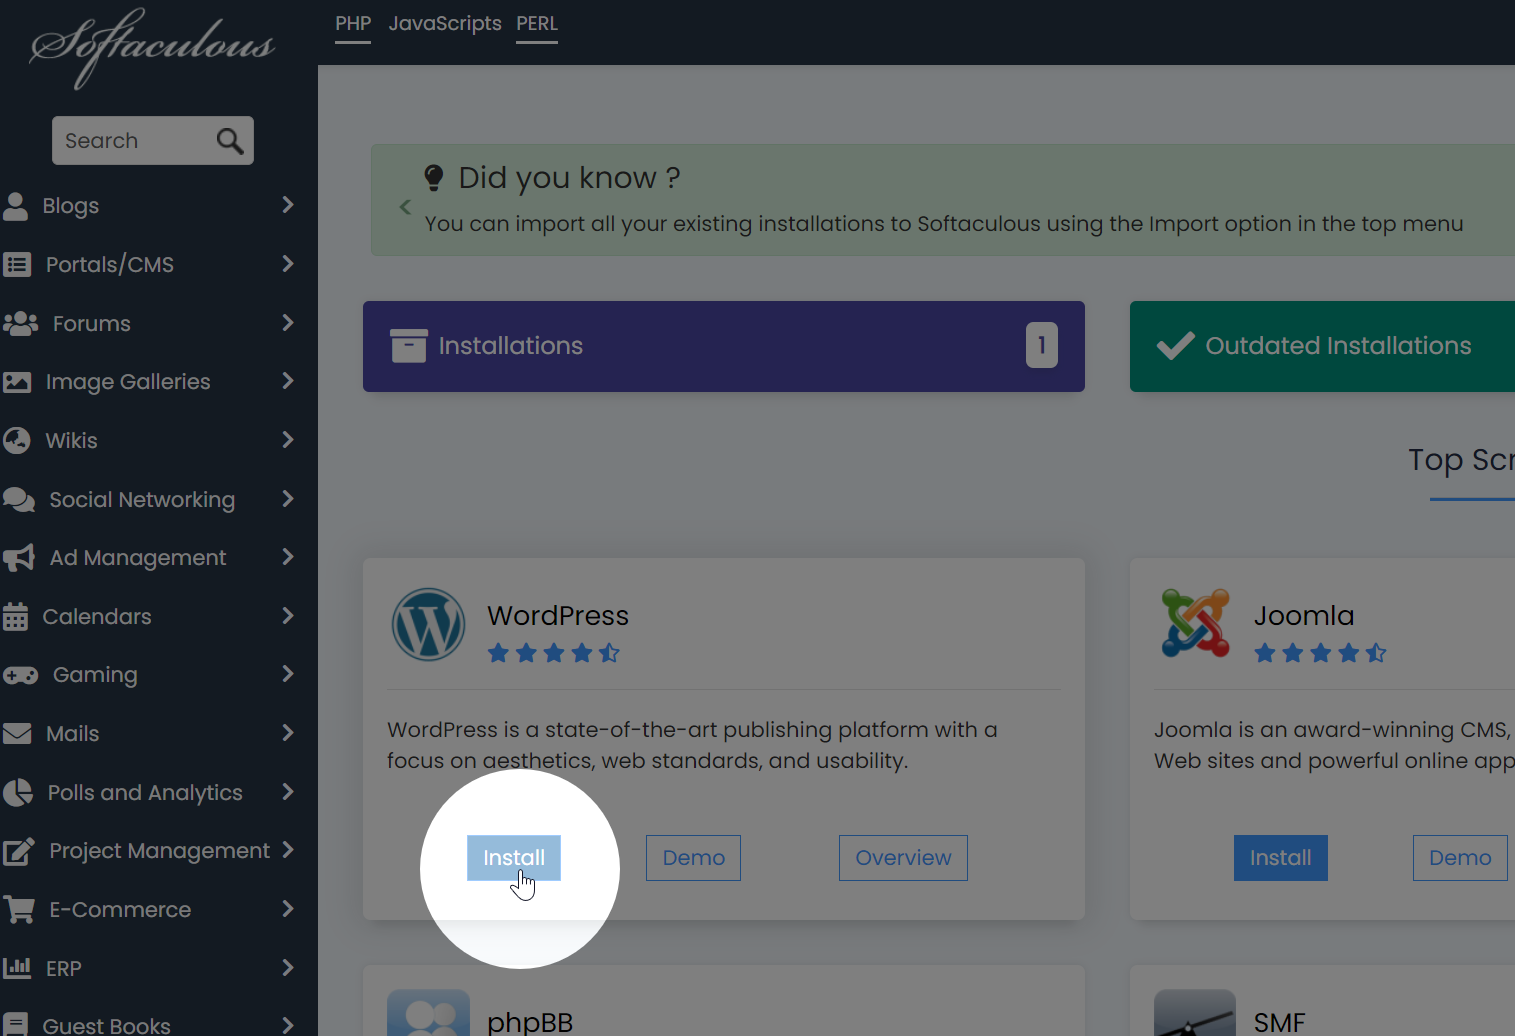
In Softaculous, you'll see a list of available applications. Find and click on "WordPress" to open the WordPress installation page.
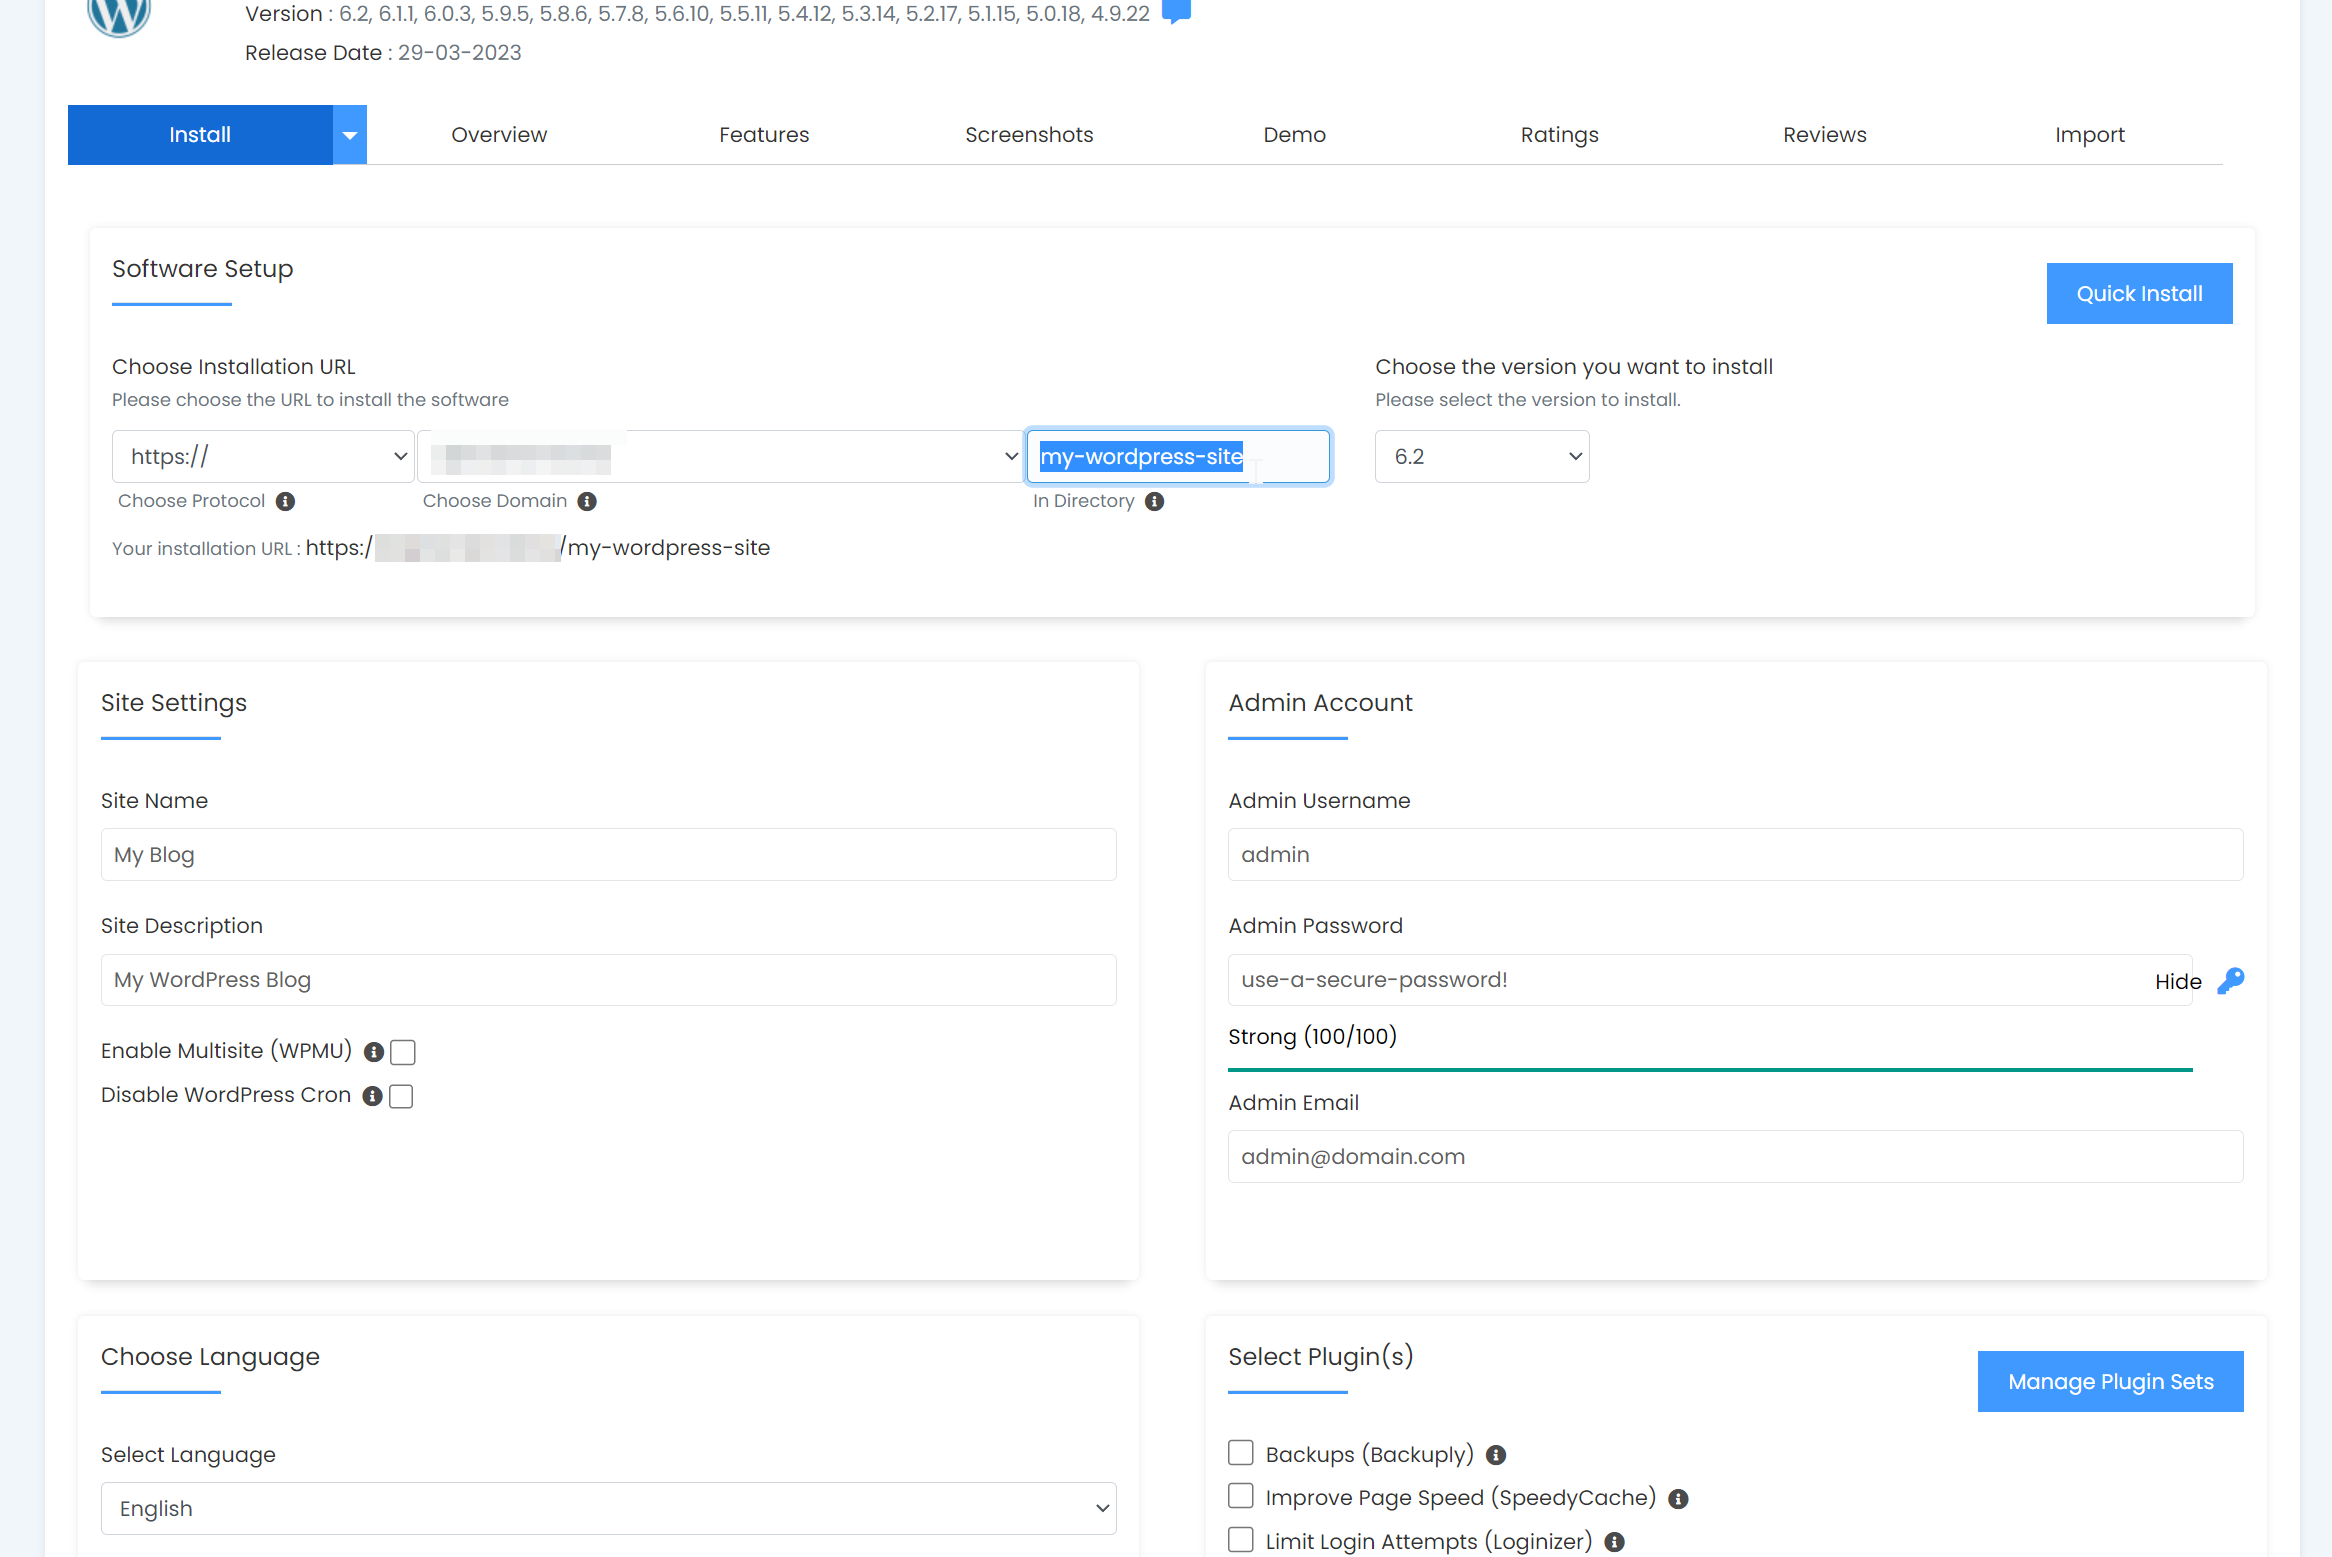
Step 4: Fill in the Installation Details
Fill in the required information for your WordPress installation:
- Software Setup: Choose the protocol (http or https), domain, and directory where you want to install WordPress.
- Site Settings: Enter your website's name and description. You can change these later from the WordPress dashboard.
- Admin Account: Create a username, password, and email address for your WordPress admin account. Make sure to use a strong password and a valid email address.
- Choose Language: Select your preferred language for WordPress.
- Select Plugins: Optionally, you can choose to install additional plugins, such as the Limit Login Attempts (Loginizer) plugin for added security.
- Advanced Options: Configure your database settings, such as database name, table prefix, and backup settings. If you're unsure about these settings, you can leave them as default.
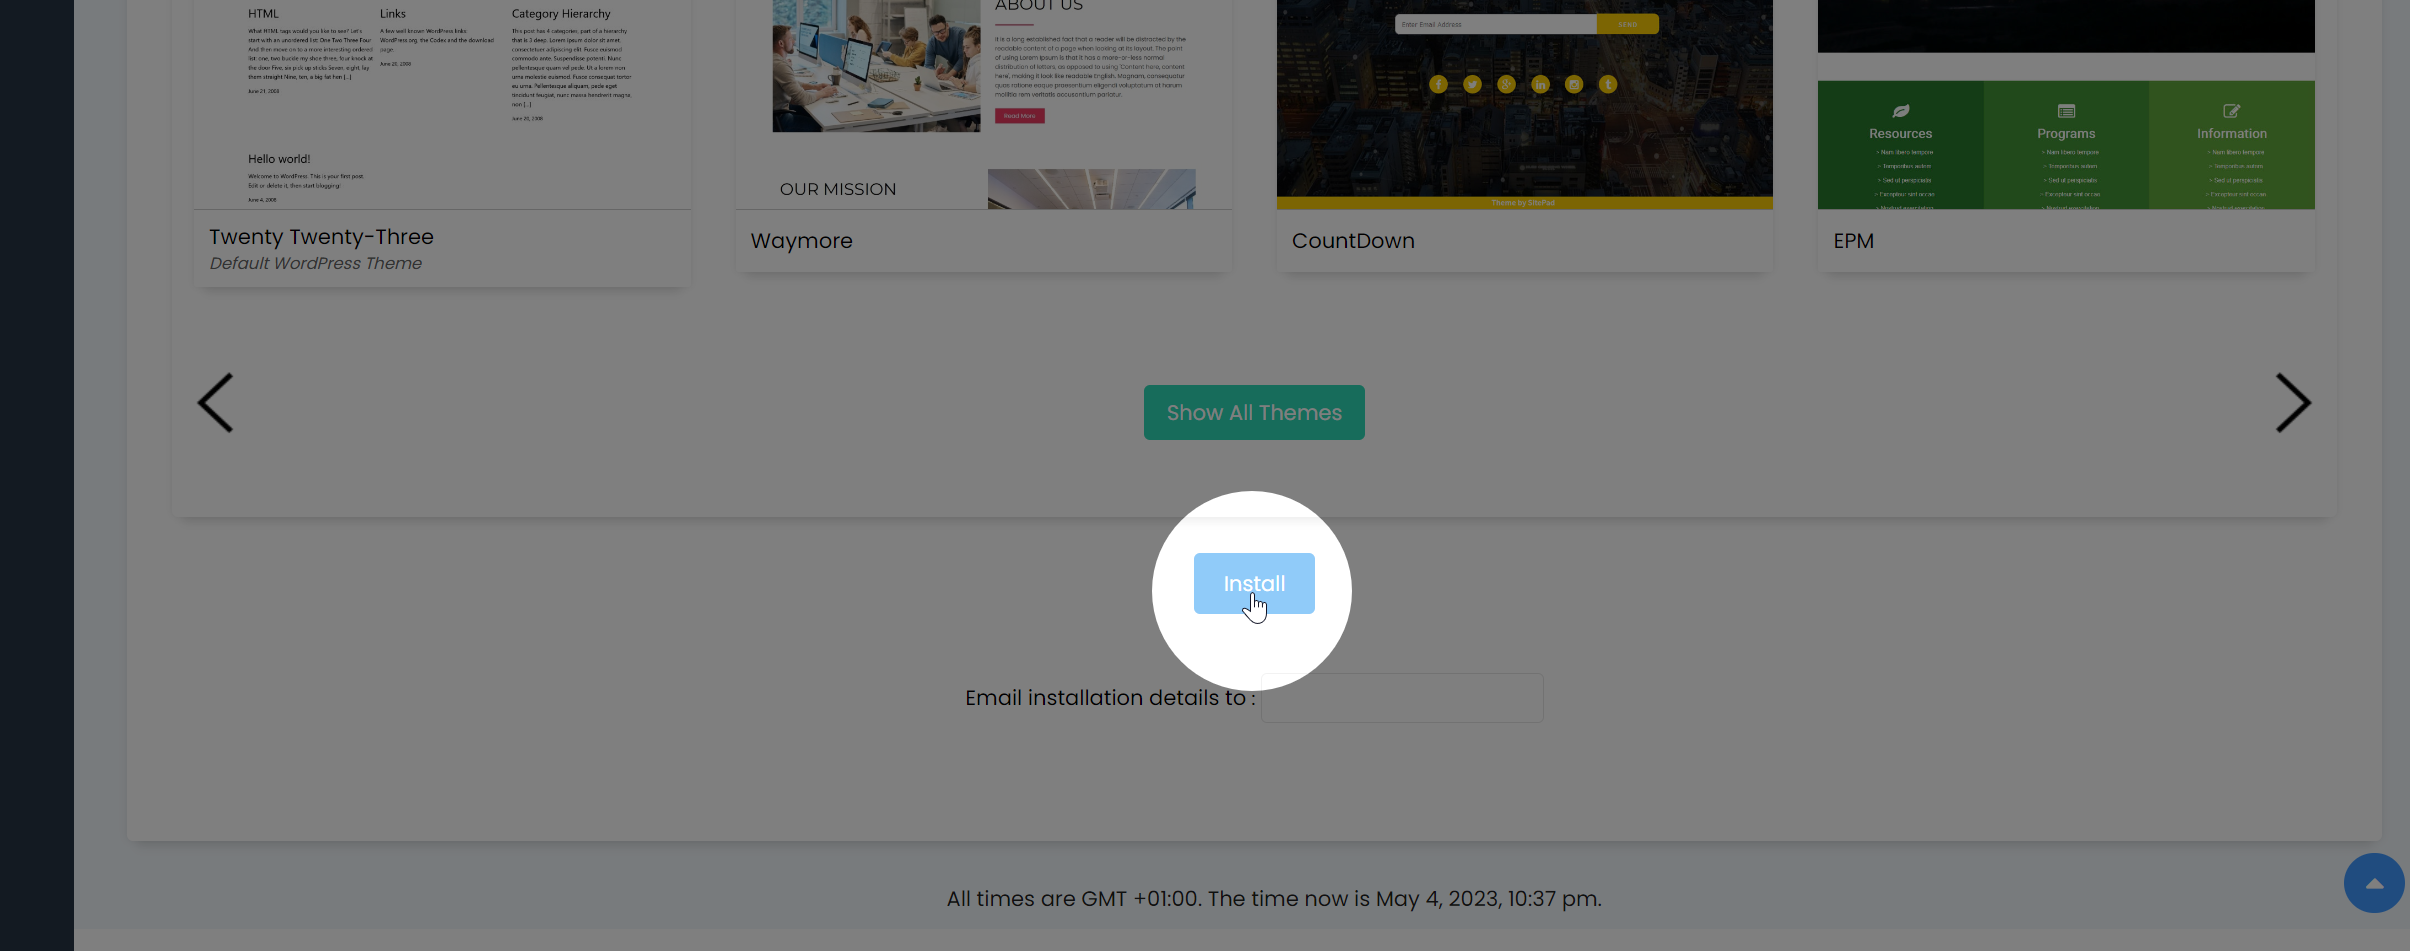
Step 5: Complete the Installation
Once you have filled in all the required information, click the "Install" button at the bottom of the page. Softaculous will install WordPress on your chosen domain and directory. The installation process may take a few minutes.
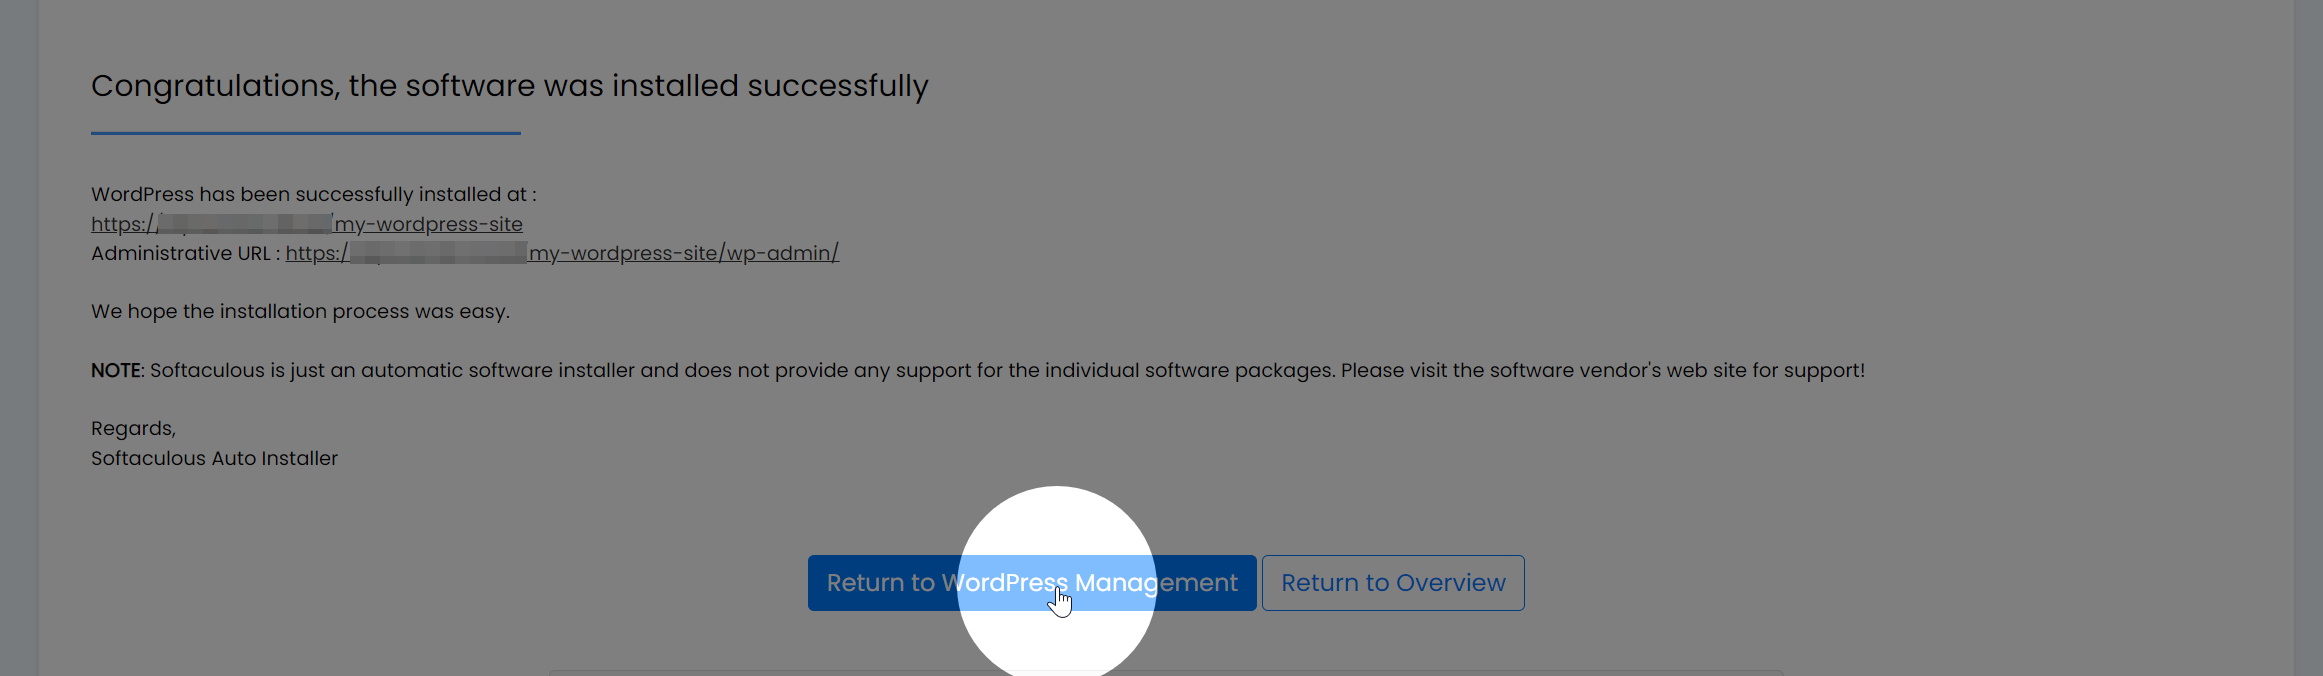
Step 6: Access Your New WordPress Site
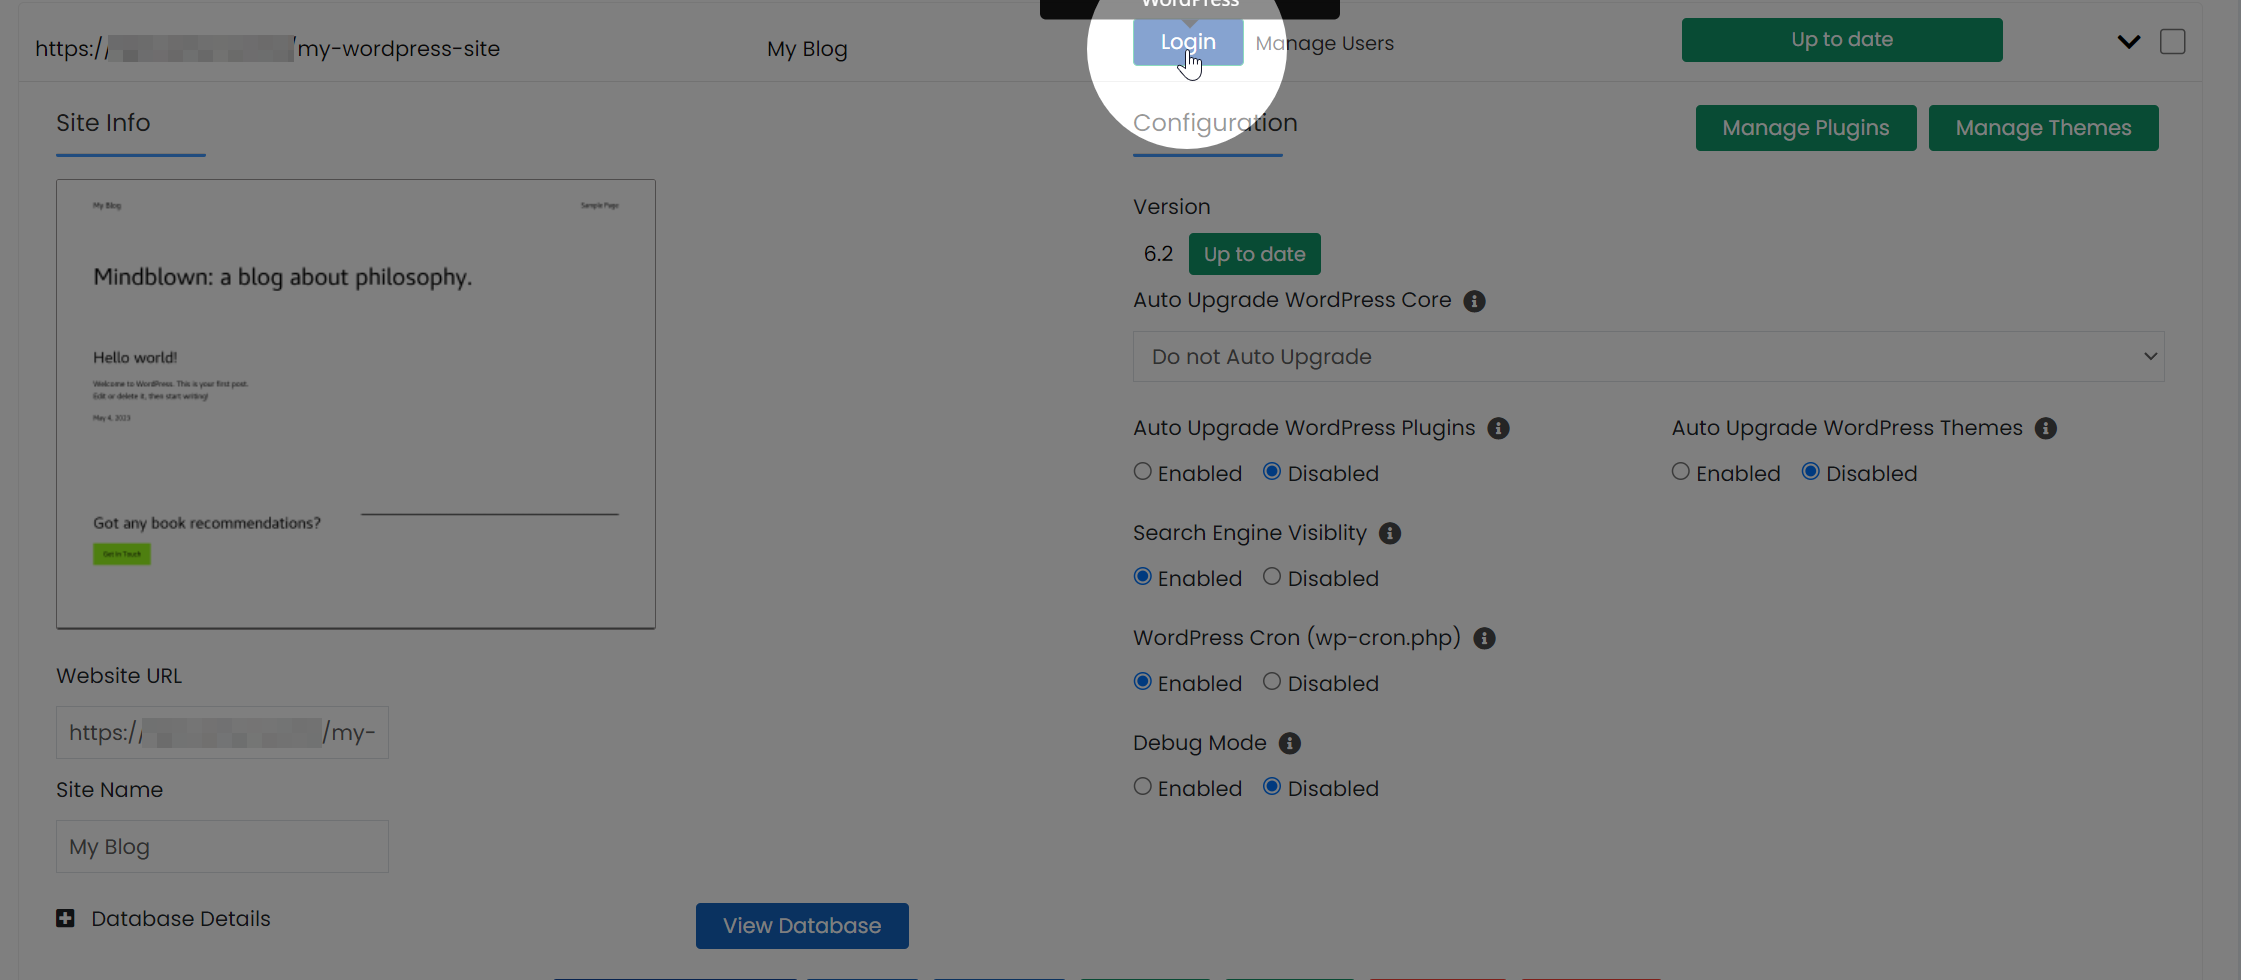
After the installation is complete, Softaculous will display a confirmation message with the URLs to access your new WordPress site and admin dashboard. You can now log in to your WordPress dashboard using the admin credentials you set during the installation process.